
Installing on Windows
Requirements
Section titled “Requirements”- A Windows 11 PC that the instruments save their files to.
- Administrator rights on the PC, to run the installer.
- Network access from the PC to your Scifeon instance (HTTPS).
The installer contains everything the File Hub needs. You do not have to install .NET or any other software first.
Install the File Hub
Section titled “Install the File Hub”- Download
ScifeonFileHub.msito the lab PC. - Double-click
ScifeonFileHub.msi. The Scifeon File Hub Setup window opens. - Click Next, then Install.
- Windows asks whether you want to allow Scifeon File Hub to make changes to your device. Check that Verified publisher says Scifeon ApS, then click Yes.
- Wait while the File Hub is installed.
- On the last screen, leave Open Scifeon File Hub ticked and click Finish. The configuration page opens in your browser, so you can connect the File Hub to Scifeon right away.
The installation adds:
- The Scifeon File Hub Windows service. It starts automatically with Windows and runs even when nobody is signed in.
- A tray icon in the notification area of the taskbar. It starts when a user signs in to Windows, shows whether the File Hub is working, and opens the configuration page.
- A Scifeon File Hub entry in the Start menu that opens the configuration page.
- A data folder at
C:\ProgramData\Scifeon\FileHubwith the settings, the upload queue and the upload log.
Open the configuration page
Section titled “Open the configuration page”The configuration page is where you connect the File Hub to Scifeon and choose the folders to watch. The installer opens it when you click Finish. To open it later, use one of these:
- Open the Start menu and choose Scifeon File Hub.
- Double-click the Scifeon File Hub tray icon in the notification area.
- Open a browser on the lab PC and go to http://127.0.0.1:17800.
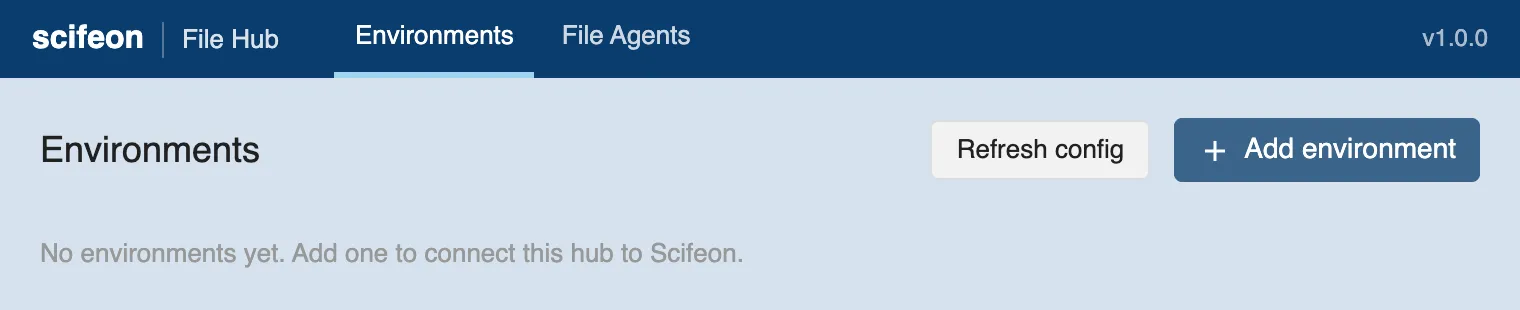
The configuration page only works on the lab PC itself; it cannot be opened from other computers. The first time you open it, it has no environments yet:
Continue with Connecting to Scifeon.
Upgrade
Section titled “Upgrade”To upgrade, download the new ScifeonFileHub.msi and install it the same way.
The new version replaces the old one in place.
Your environments, FileAgents, queued files and upload log are kept.
Uninstall
Section titled “Uninstall”- Open Settings > Apps > Installed apps.
- Find Scifeon File Hub, click … and choose Uninstall.
You can also double-click ScifeonFileHub.msi again and choose Remove.
The same screen offers Repair, which restores missing or damaged program files.
Uninstalling removes the program and the Windows service.
The data folder C:\ProgramData\Scifeon\FileHub is kept, so a later reinstall picks up the same settings.
The instrument folders and their files are never touched.
Silent installation for IT departments
Section titled “Silent installation for IT departments”IT departments that roll out the File Hub to many PCs (for example with Intune or SCCM) can install it silently and connect it to Scifeon in the same step:
msiexec /i ScifeonFileHub.msi /qn SCIFEON_URL=https://yourinstance.scifeon.cloud/ SCIFEON_APIKEY=<API key>SCIFEON_URL(required): the address of your Scifeon instance.SCIFEON_APIKEY(required): the API key the File Hub uses. It is stored encrypted on the PC and is not written to the installer log.SCIFEON_NAME(optional): the name of the environment. Defaults toProduction.
Without these properties, the silent installation installs the File Hub without an environment, and you add one on the configuration page afterwards.