Requesting analysis
This user guide will walk you through the process of requesting analysis from samples and procedures using our platform’s Request Analysis Workflow. This workflow allows you to efficiently manage your analysis requests and streamline your laboratory processes.
We will going through the following tasks:
- Creating a Request Inbox
- Navigating to the Request Page
- Setting Up Analysis Requests
Creating a Request Inbox
Section titled “Creating a Request Inbox”To get started, you need to create a Request Inbox where you can receive analysis requests. Follow these steps:
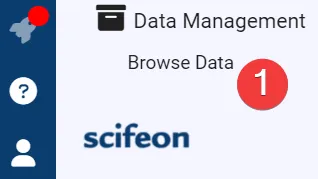
Go to “Browse data” found under the “Data Management” section in the side menu (1).
In the Workflow column, you will find the “Request Inbox” option. Click on “Request Inbox” to access the Request Inbox Overview(1).

On this page, you will see all available inboxes for receiving analysis requests. For this tutorial, we will create a new inbox. Click the “Create Request Inbox” button located at the top of the screen (1).

Provide a name(1) for the inbox and click the “Save” button in the top right corner(2).
 The standard request plugin is preselected(1).
If you have a custom request plugin, you can edit the request plugins card and select it from the dropdown list. For this tutorial, we will focus on the standard-request-plugin, which is automatically selected.
The standard request plugin is preselected(1).
If you have a custom request plugin, you can edit the request plugins card and select it from the dropdown list. For this tutorial, we will focus on the standard-request-plugin, which is automatically selected.

Navigating to the Request Page
Section titled “Navigating to the Request Page”Now that you have created a Request Inbox, it’s time to navigate to the Request Page where you can initiate analysis requests:
- Locate the “Create Request” option in the right side menu. (2) i the previous picture.
- Click on “Create Request” to access the Request Page.
- In the Request Page, select the newly created inbox.
Setting Up Analysis Requests
Section titled “Setting Up Analysis Requests”You are now ready to set up analysis requests. Follow these steps to create and send analysis requests:
At the top of the Request Page, you will see the selected inbox(1). Provide a description(2), notes(3) request and attach any necessary files(4).

Below, you can select the samples and procedures for your analysis requests. First, choose the procedures(1) to be used for the analysis. Click the dropdown menu and select the desired procedures. You can select multiple procedures.
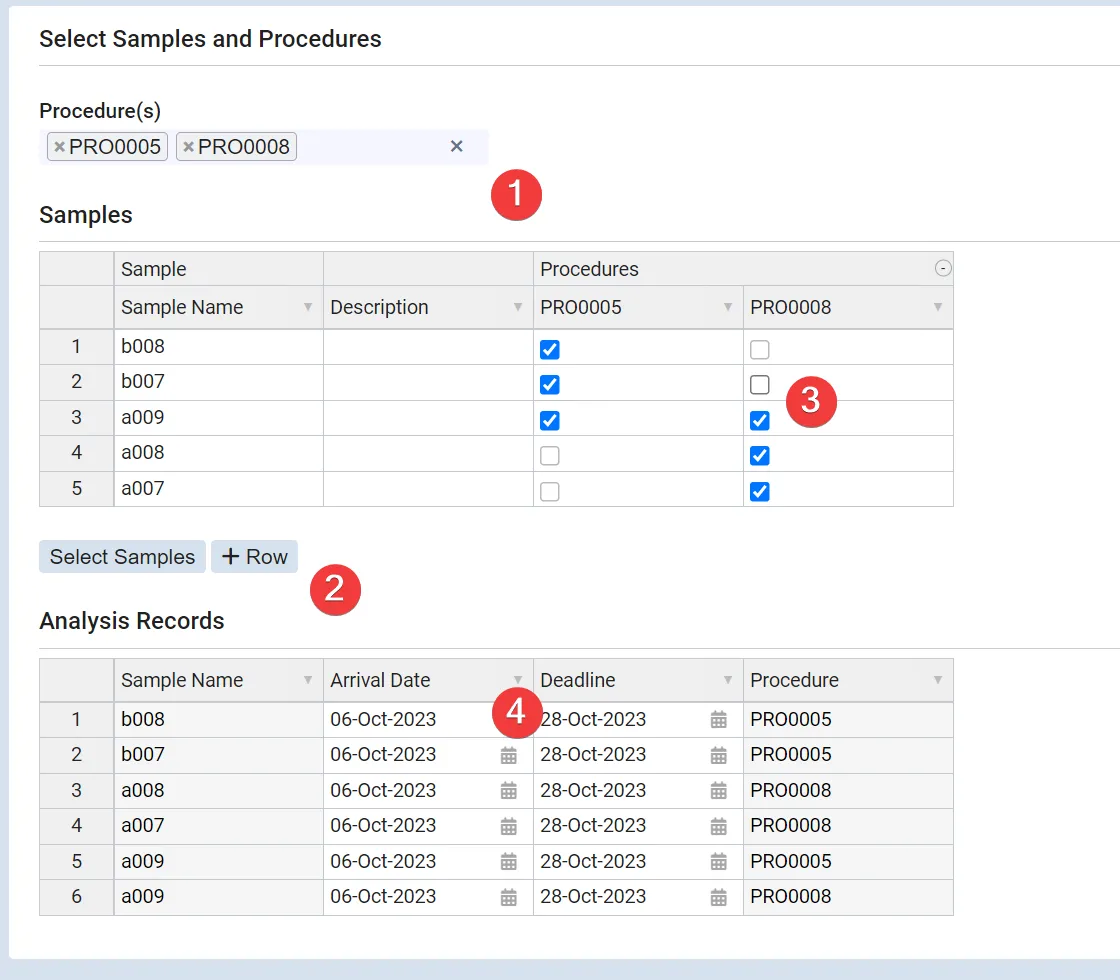
After selecting procedures, it’s time to add samples(2). You have two options:
Click the “Select Samples” button to open a modal where you can choose from existing samples. Select the required samples by ticking the checkboxes, add them to the list on the right by using the right-facing arrow, and finish by clicking “Add.”
To create new samples, click the (+) button next to the sample row. You can then enter a new sample name, which will be automatically created when the analysis is requested. The selected procedures are displayed after each sample, and you can generate an analysis for each pair by checking the corresponding checkboxes.
For each generated analysis, you can set the arrival date, deadline, and replicate amount as needed(4).
End the clicking the “Send Request” button in the top right corner of the page.
By following these steps, you can efficiently request analysis from samples and procedures using our platform’s Request Analysis Workflow. This streamlined process will help you manage your laboratory tasks with ease.